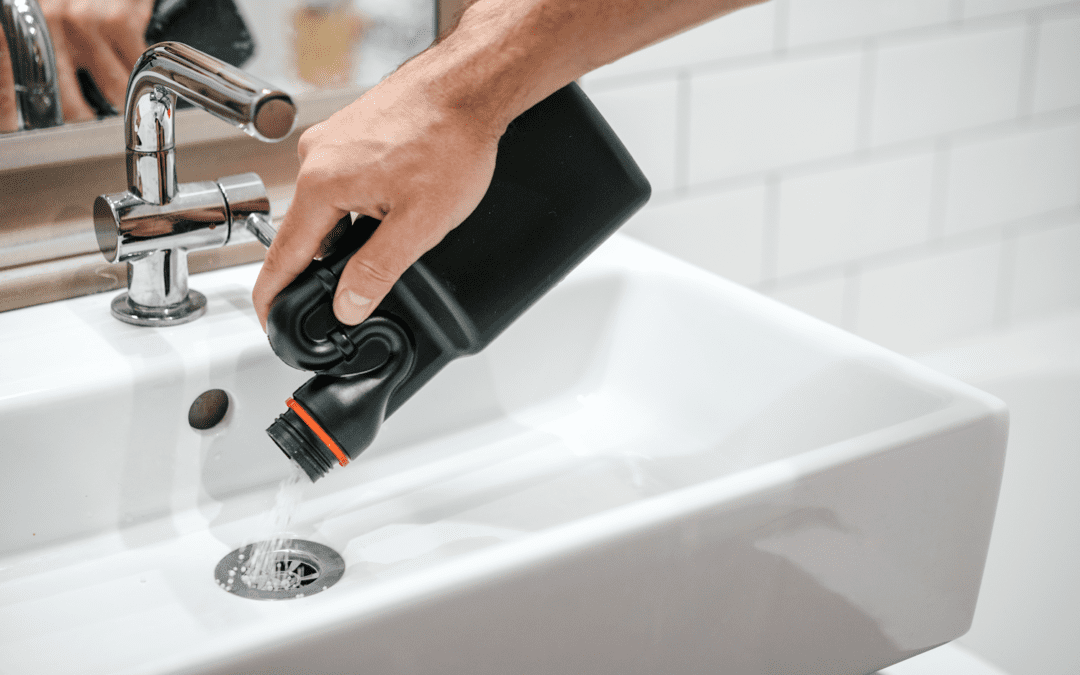
NEVER Pour Grease and Cooking Oil Down the Drain
After you have finished cooking some bacon or using oil or grease when cooking it’s easy to dump the excess grease and oil down the drain without giving it second thought. This greasy mess can cause a lot of damage to the sewer, but it can also clog up your pipes as well.
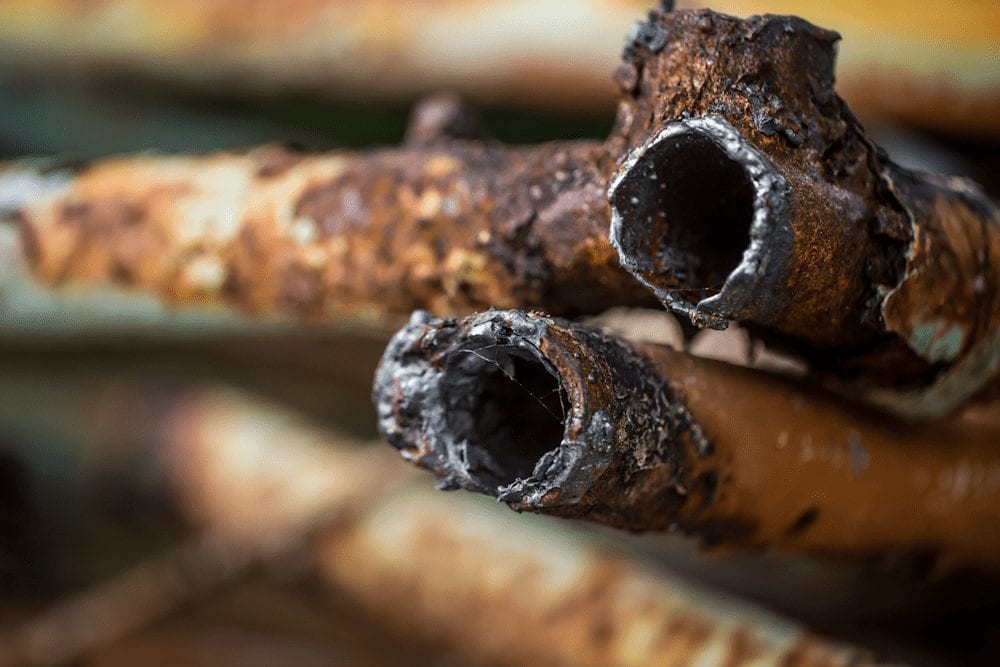
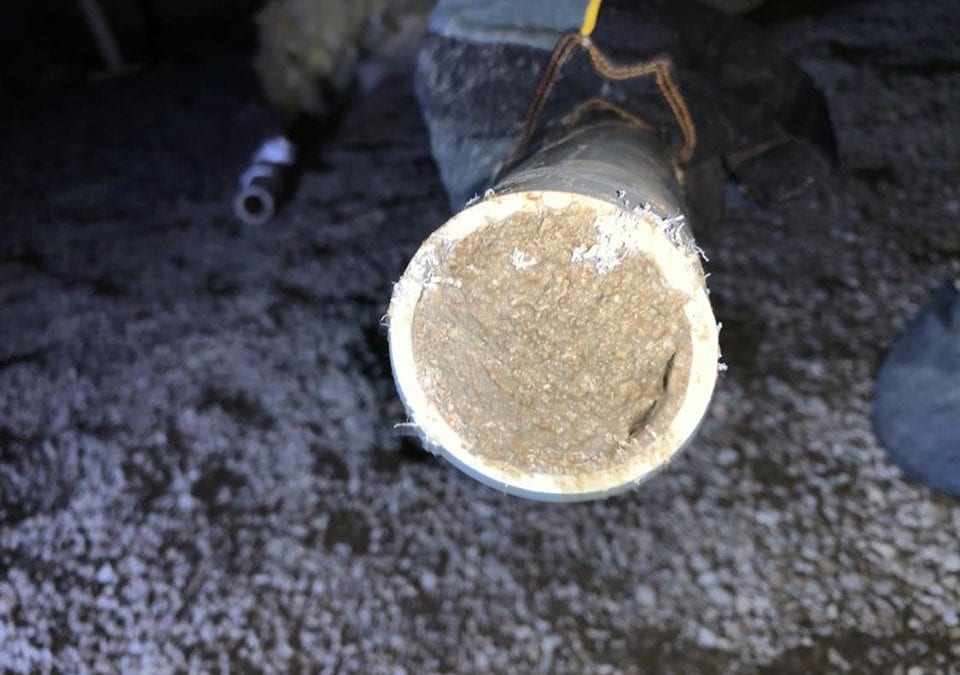
If you have ever left bacon grease in the pan for too long, you’ll notice that it completely solidifies as it cools and can be very difficult to clean off. This is an example of what the inside of your pipes may also looks like! Your home’s piping will suffer the effects of hardened fat and grease, which will eventually block the pipe entirely.
Pouring grease or oil down the drain can be a plumbing disaster that could cost you thousands of dollars in plumbing repairs in the future.
How to Tell if Your Drain is Clogged with Grease
- Early warning signs of clogged drainage system include:
- Slow water drainage
- Gurgling sound
- A bad smell emanating from your drains
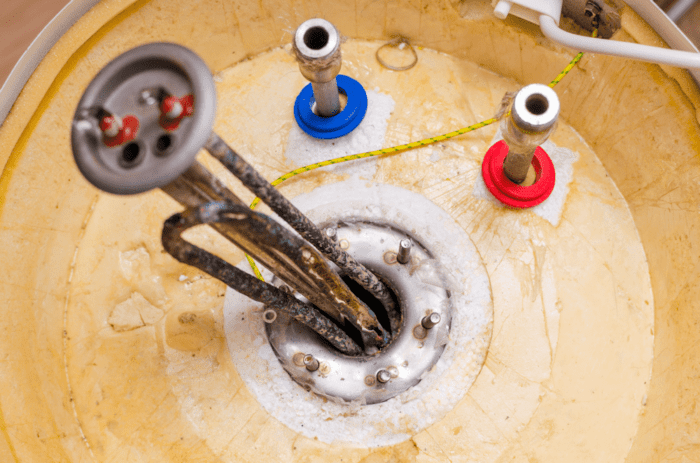
If you are experiencing a clog in your kitchen sink and you have put grease down the sink, then it may be a grease clog, but more than likely it is a combination clog. Sometimes a piece of hard material can get stuck in your drain. Excessive grease build-up, when coupled with this type of obstruction, can really speed up the clogging process.
There are better ways to dispose of unwanted grease and oil.
Dump the grease it in a cup, wait for it to cool, and throw it in the trash, because even a small amount of oil dumped down the drain can build up over time and wreak havoc on not only your drainage system, but your town’s whole sewer. If you are asking the question, can you pour grease down the drain? The answer is a strong NO!
How to Properly Dispose of Grease and Oil
Once the grease has completely cooled in the pan, scrape as much as you can out and throw it right into the trash can. You can then use a paper towel to thoroughly wipe down the pan. You do not want to rinse and wash the pan without doing this first, as excess grease can still go down the drain.
And if you do not feel like wiping and all that, transfer the grease/fat/oil to another container after cooking and place the container in the fridge or freezer. Once it hardens, you can simply throw the whole block away.
Need HELP? Give us a call at 630-638-8651 or visit our website at: https://www.dupagehomeservice.com/